Getting Started
Welcome. This manual explains everything in Kiwisynth. If you are new to synthesizers, start here. If you are not, this page still shows where things are.
What Kiwisynth is
Kiwisynth is a software instrument. It makes sound, and you play it from a keyboard or from notes drawn in your music software. It runs inside a host program, a DAW, as a VST3 or CLAP plugin on both Windows and Linux. The Linux page covers what that platform needs.
A synthesizer builds sound from scratch rather than playing back recordings. It starts with raw waveforms, shapes their tone with a filter, and gives them a beginning and an end with an envelope. Everything in this manual is a step in that chain.
Two ways to use it
Kiwisynth has two faces, and you can switch between them at any time.
Simple Mode is the easier way in. You shape sound by feel, without needing to know what a filter or an envelope is. If you are new, begin there. It has its own page in this manual.
The full editor shows the whole instrument: every oscillator, filter, envelope and effect, laid out on a set of pages. Most of this manual describes the full editor. The switch beside the audition controls in the header reads S!MPLE and PRO: S!MPLE is Simple Mode, PRO is the full editor.
How this manual is organised
The manual is in two parts.
The feature pages explain how each part of the synth works, one page per part: oscillators, filter, envelopes, LFOs, modulation, motion, effects, the note pipeline (perform, chord and the arpeggiator), breath, presets and scripting. Read these when you want to know what a particular control does. They live under the features section.
The guides show how to combine those parts to make something. There is one page per kind of instrument, bass through texture, that builds a sound from a blank patch and explains every choice. There are also guides that cut across the synth: adding motion to a patch, layering oscillators into a fuller sound, and using the effects for character. Read these when you want to make a particular result rather than learn a single control. They live under the guides section.
The onboarding pages, this one and Simple Mode, Audition, Playing and Performance, and Linux, sit at the top level.
Pages, tabs and cards
The full editor is organised into pages. The page rail in the header's second row holds one picture per page, and pointing at one shows its name.
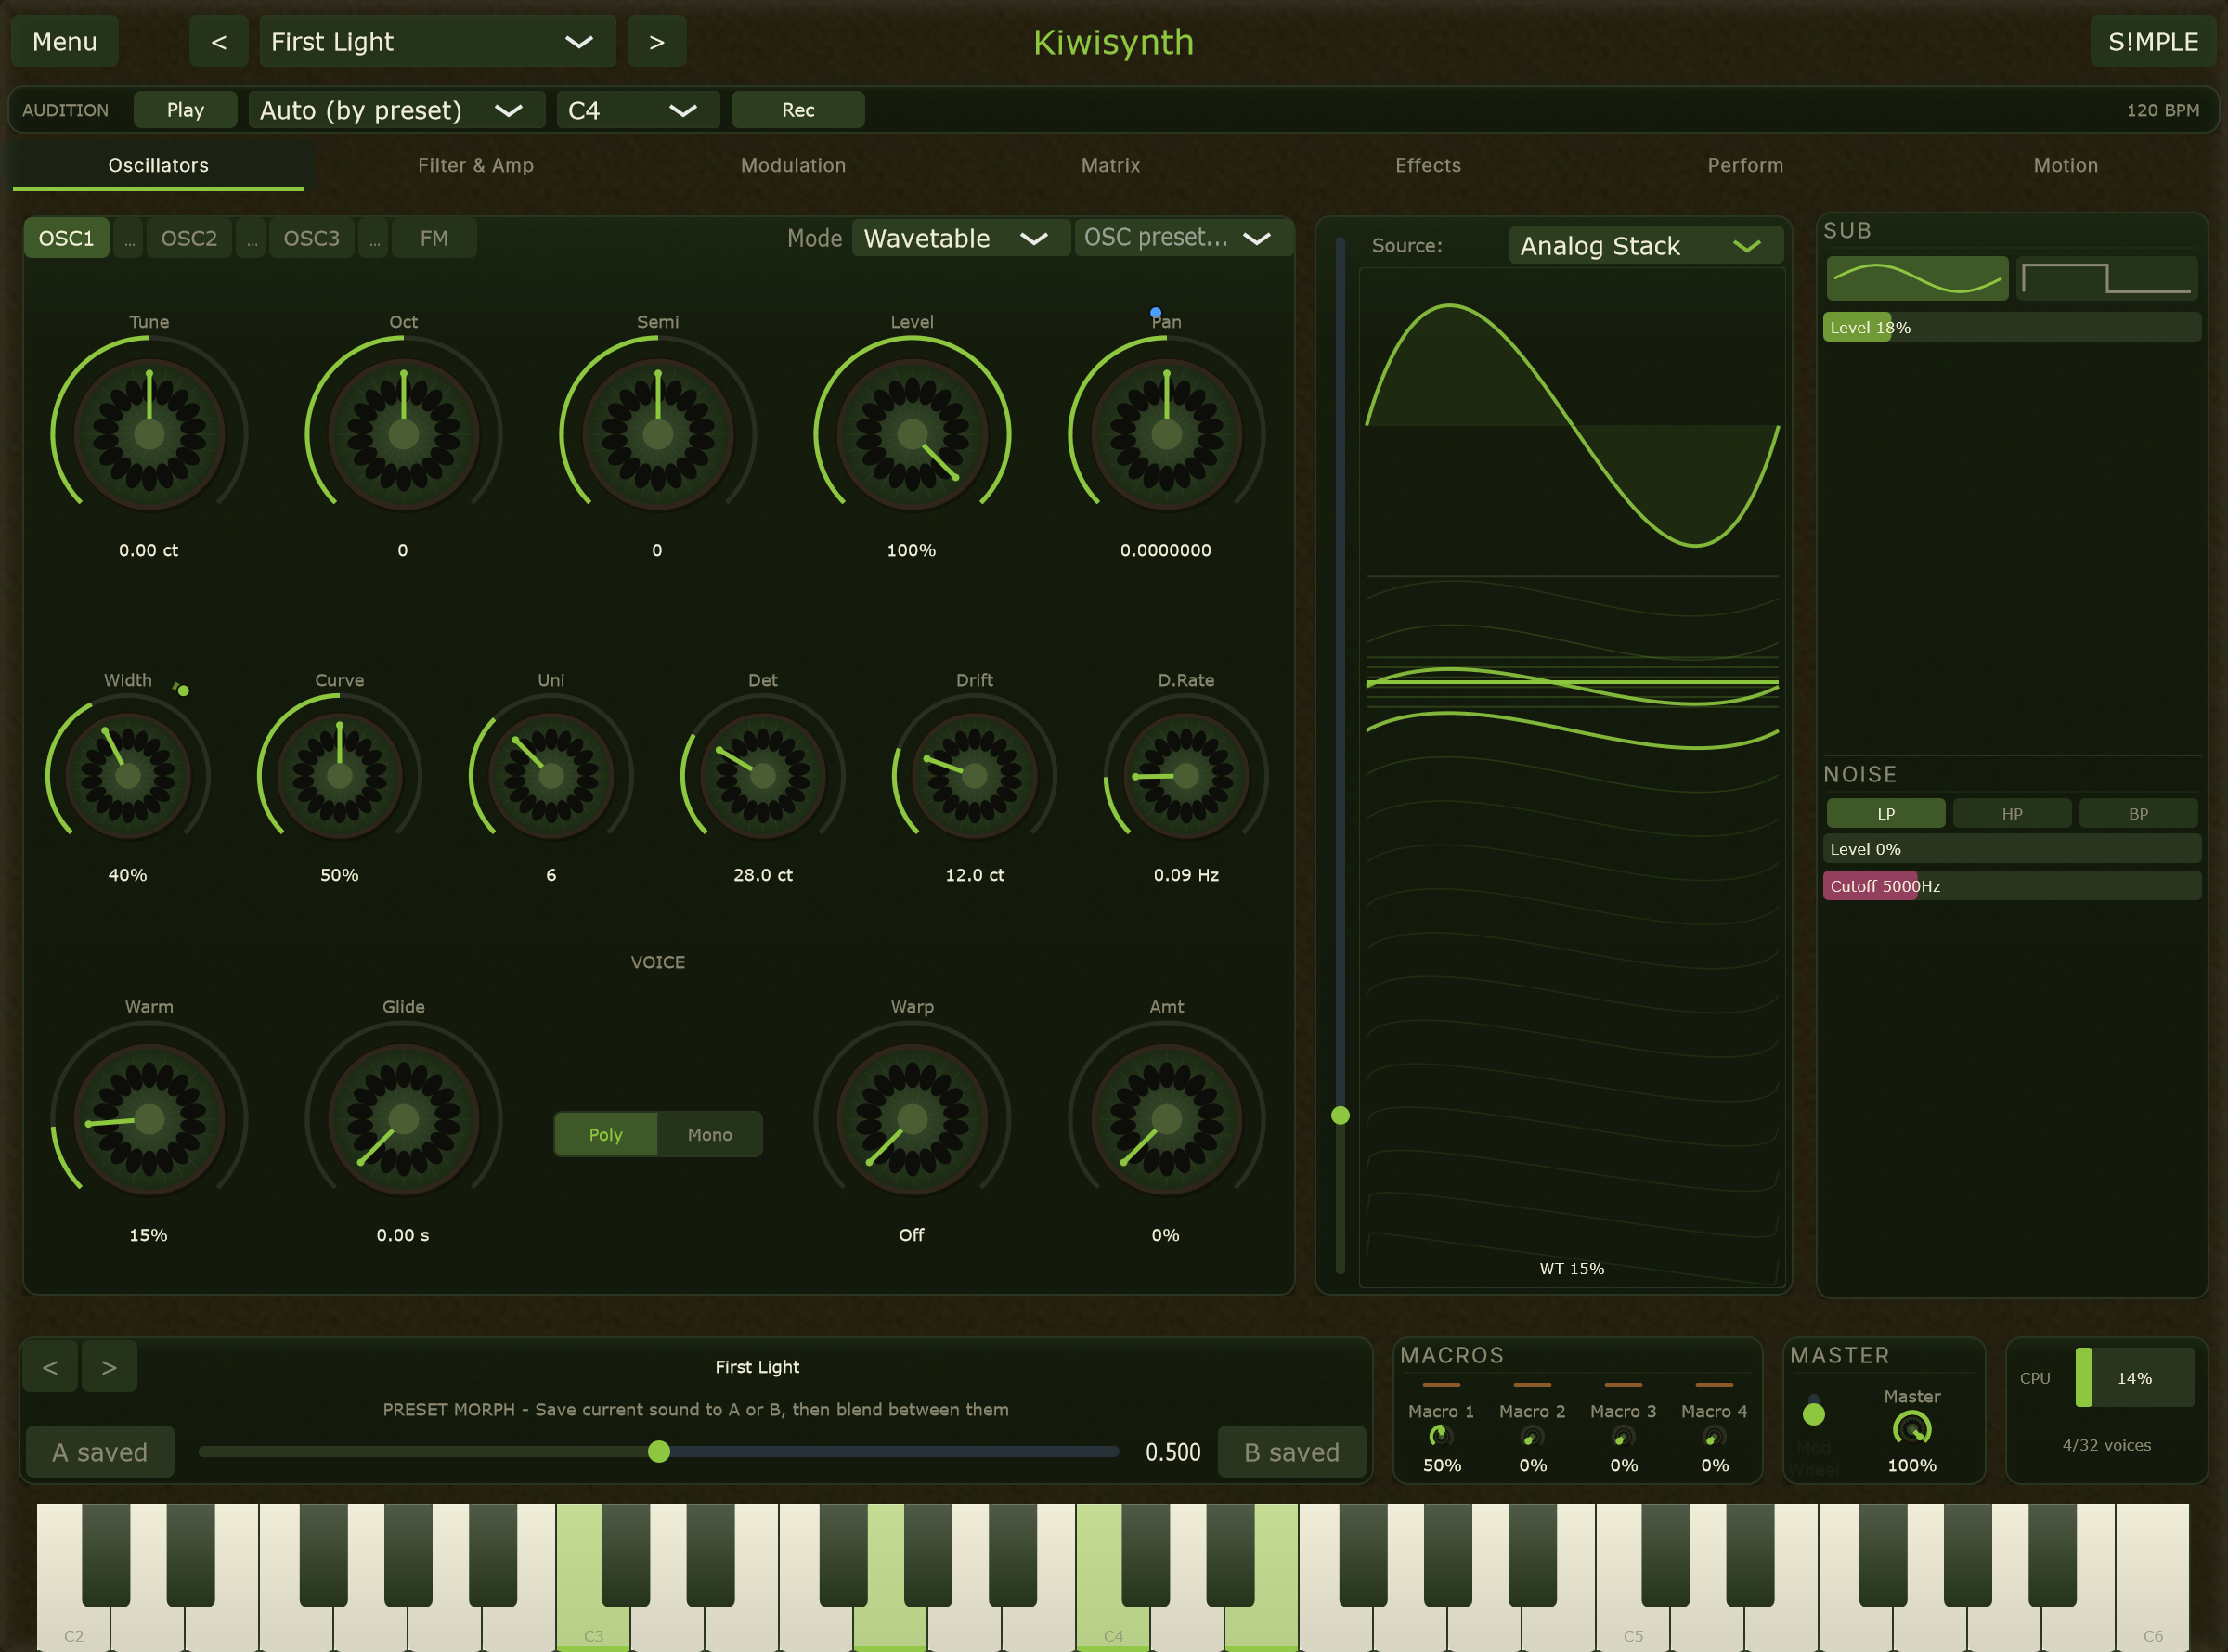
Some pages hold more than one view of their subject and show a row of tabs to choose between them, such as OSC1, OSC2, OSC3 and FM on the Oscillators page. The controls on a page are grouped into cards, each with a title, such as the Wavetable card or the Master card.
- Oscillators. Where the raw sound is made.
- Filter and Amp. Where the tone is shaped, and where the note is given its shape in time.
- Modulation. Where you add movement.
- Matrix. A read-only map of all the movement in the patch.
- Effects. Reverb, delay, chorus and more.
- Perform. What happens to a note before it becomes sound: the chord builder, the arpeggiator, and the patch's script. They run in that order, so one key press can become a chord and the arpeggiator can then arpeggiate it.
- Motion. One view of everything that changes over a single note: each sound source and every contour you attach to a knob, on a shared time axis, described in its own chapter.
The header
The header stays visible on every page. Its first row holds the Menu button, the preset name with arrows to step through presets, a Save button, Undo and Redo, and a line for messages. Click the preset name to open the browser.
The second row holds the page rail. At its right end are the Sources button (PRO only), which opens a tray of every modulation source, the Keys button, which opens an on-screen keyboard with a mod wheel beside it, the S!MPLE and PRO switch, the audition's phrase and octave, and the audition transport.
The strip along the bottom
A strip of three cards stays visible on every page. Morph blends between two sounds you hold. Macros holds four knobs you can point at anything. Master holds the volume and tuning, and shows how many voices are sounding and how hard the instrument is working.
Your first sound
Load a preset from the header, or use the arrows to move through them. Play a few notes. To hear a preset without a keyboard, press play on the audition transport, described later in this manual. From there, open any page and start turning controls. Nothing you do can damage a preset, and leaving a sound never asks first: Undo in the header brings the last one back.
Working with your host
In a host that supports CLAP, Kiwisynth also offers itself through the host's own controls. The host can list Kiwisynth's presets in its own browser, as described on the Presets page. It can also give a hardware controller's eight knobs to Kiwisynth in pages, and the pages are the same for every sound, so you learn where the cutoff sits once. The first page holds the four macros, the filter's cutoff, resonance and envelope amount, and the master volume. Further pages cover the oscillators, the two filters, the amp and first modulation envelope, the first two LFOs and the effects. How the host shows and steps through the pages is up to the host.